When you’re making aluminum parts for your own use, a raw ‘mill’ finish on the piece is just fine – why bother with making it more aesthetic when it’s just going to get dinged and dented as a result of simply being used? (Of course, once in a while I’ll feel a little creative and […]
When you’re making aluminum parts for your own use, a raw ‘mill’ finish on the piece is just fine – why bother with making it more aesthetic when it’s just going to get dinged and dented as a result of simply being used? (Of course, once in a while I’ll feel a little creative and impart a nice flycut finish on a part just for grins). But when you’re selling something that you’ve made, be it a paintball gun or a pizza cutter, the finish is often half of what the customer is looking at (sometimes even moreso – I’d wager that the modern consumer will almost always choose ‘shiny’ over ‘functional’). Metal finishing is thus a critical part of a product, and vibratory deburring/finishing is a common technique. It’s quite similar to the hobby rock tumbler kits you sometimes see – you have parts/rocks that get vibrated/tumbled around in a semi-abrasive media. This primarily knocks down burrs and takes the bite out of sharp edges, but it also helps provide an even finish to the large flat areas of a part. At any rate, it beats the heck out of hand polishing, which gets old really fast.
I started out with a Thumler’s Tumbler UV-18 and a Raytech starter kit of media. It worked great for small parts, but once I decided to try making aftermarket Phantom bodies, I knew I needed something larger. Of course, industrial sized vibratory finishers aren’t exactly cheap (the one Mike @ CCI uses for Phantom bodies is probably at least $6000), even when old beaters make a very rare appearance on craigslist. What do do? Make my own, of course.
The core of the unit would of course be the ‘tub’. I came across some mentions of people building their own massive tumblers by taking an old concrete mixer and spraying the inside with bedliner – a very novel approach, but was a little too large for my needs, and I wanted a vibratory unit rather than a tumbler, as I felt that a vibe unit would be gentler on the parts. I looked around at various rubbermaid type storage tubs, but worried about a rectangular tub having ‘dead zones’ that would get little movement, and having parts pooling up in those areas. I finally came across a post (which I’ve since lost the bookmark for) which had photos of a homebrew finisher – it was remarkably similar to the UV-18, but was simply scaled up in size. It used a car tire (on a rim) for a base, threaded rod and springs for a motor support system, and (most cleverly of all) laundry tubs for the tub. The clever part was that since the tubs nest for stacking, you can use a main tub for the housing, and simply drop in another tub to act as a replaceable liner. This made media changes very quick as well – just drop in the appropriate tub.
The one part of this design that seemed sub-optimal to me was the fact that the motor and tub had to be mounted on some sort of set of springs or grommets to keep the unit from vibrating all over the room. I wondered how much vibratory power that could be going into the parts/media was getting eaten up by the springs and grommets – the design is trying to create vibration in one part and eliminate it in another. In chatting with Lee about the project, it occurred to me that hanging the whole unit from the top rather than supporting it from underneath would be an ideal method to let all the motor power go into movement – no dampening would be needed, as everything could just precess around the single support point.
I found some laundry tubs at the hardware store, and not seeing any good motors on craigslist, I bought a 1/3 HP motor from Surplus Center. Turned out to be quite a beefy motor and certainly larger/heavier than I anticipated. But that’s rarely a bad thing – heavier stuff is generally better built (in fact, I’ve noticed on more than one occasion when disassembling a piece of electronic equipment that a lead or steel weight has been inserted into the unit simply to provide that feel of mass to fake out the user into thinking that the product is superior). I clamped a hunk of scrap aluminum to the shaft for the eccentric weight (which is actually what provides the vibration). As for hanging the complete unit, I considered building some sort of framework to suspend it (I had already ruled out hanging it from the basement rafters, as I had guessed that ‘sheer stupidity’ was not a valid clause in my homeowner’s insurance should the building suddenly collapse), then realized that ready made systems were already available as engine hoists. I decided that having an engine hoist around anyhow may not be a bad thing, and I found a used one on craigslist for a reasonable price.
Now that I had all the pieces, it was time to design. I used a copy of SolidWorks at work to first draw up one of the laundry tubs. I nested one inside another, slapped them onto a 12″x12″ steel plate, added in a rough model of the motor… …and just sort of ‘winged it’, much like building the enclosure for my Taig CNC. With the Speedy Metals catalog as a reference, I fleshed out the rest of the structure. An edrawing of the assembly is here.
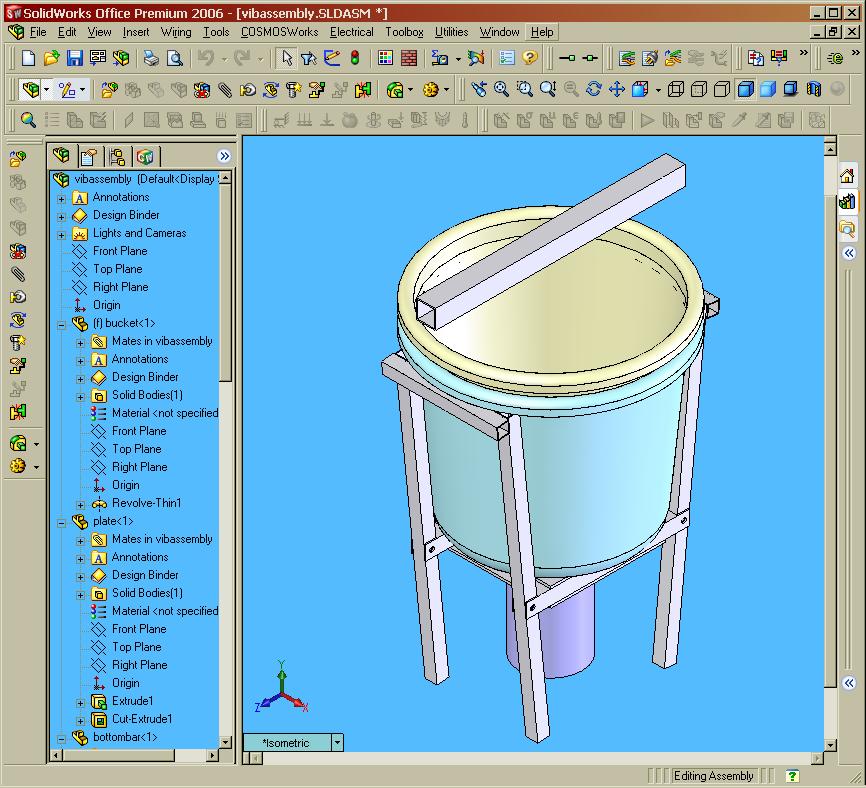
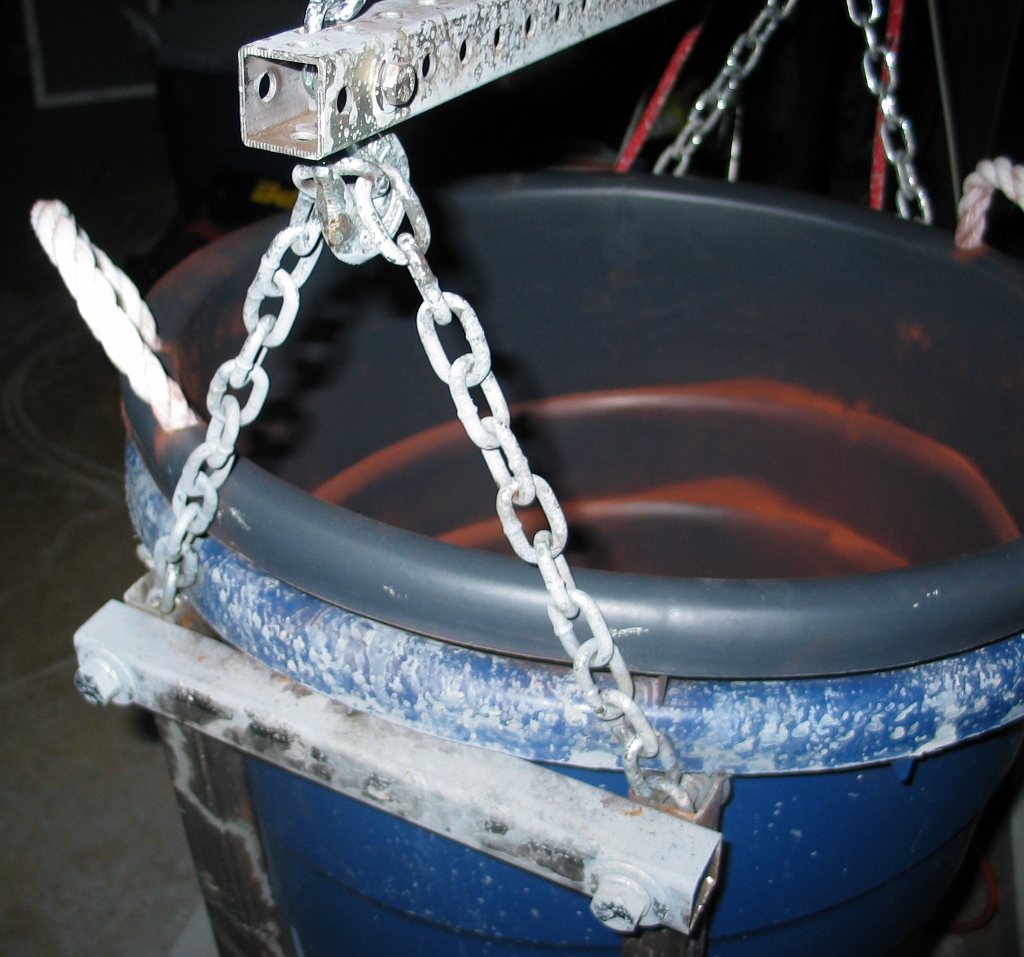
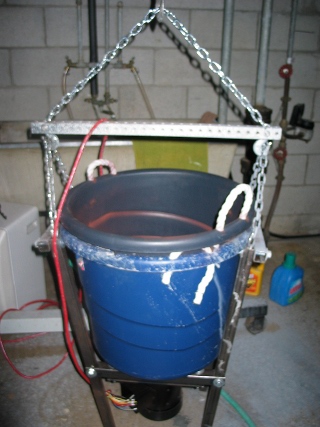
Once I had the design fleshed out, I ordered all the raw materials from Speedy Metals (sorry if it sounds like I’m just pimping them, but they’re a great place that doesn’t sneer at hobbyists). I still had to chain it all together, for which I used… chain. I picked up some cheap chain and the various other fasteners needed at another local hardware store (anyone not familiar with the glory that is Fleet Farm need only consult the Happy Schnapps Combo for further information). I milled simple slots in the ends of the upper bar (which was actually a length of galvanized perforated square tubing) so that the ends of a length of chain could be secured via a cross-bolt (which also held a hook in place, which would grab chain ‘straps’ from below, hoisting each end of the framework).
For the deburring media itself, I’m currently using two different kinds:
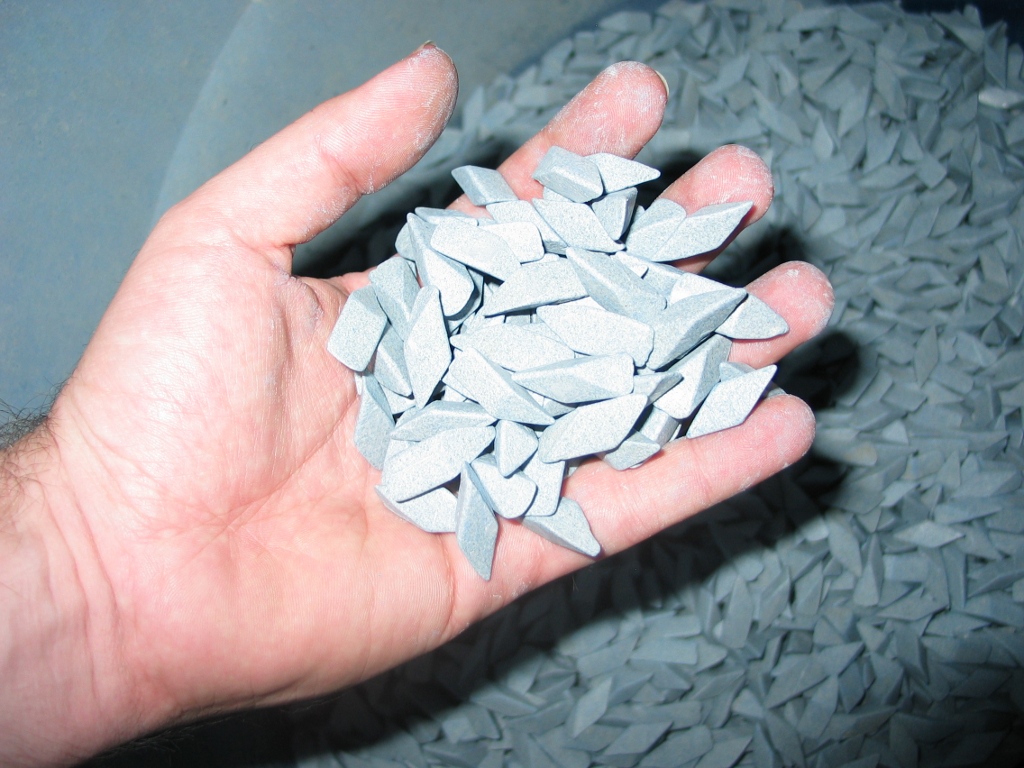
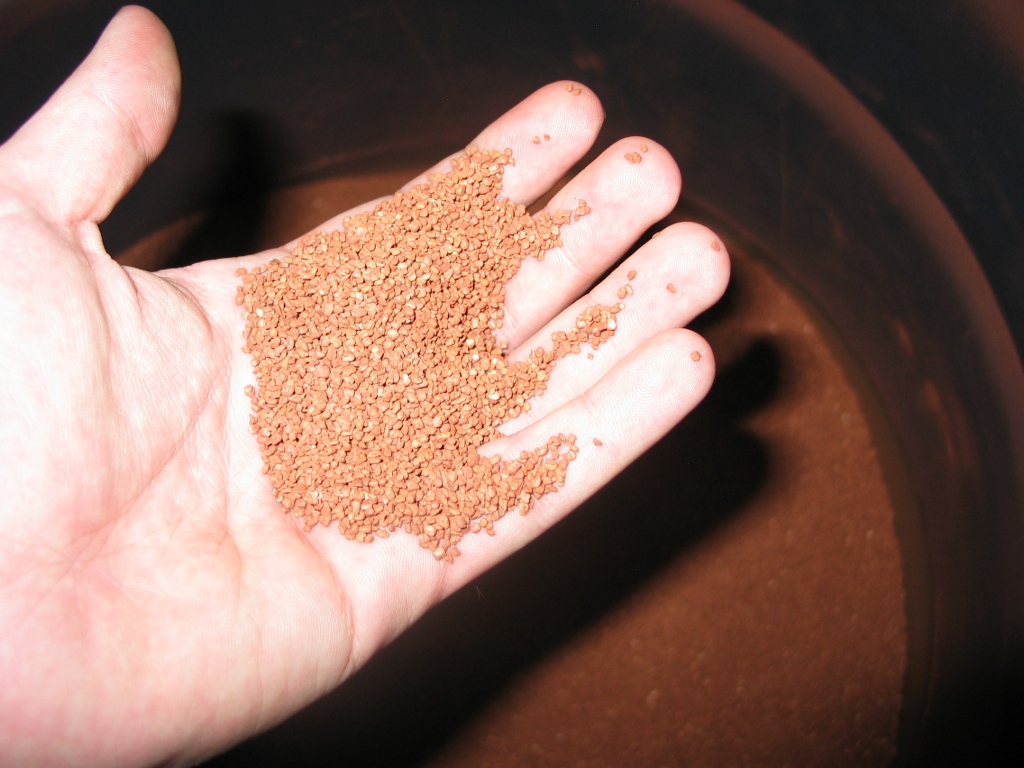
I also have a plastic based media, but it’s pretty slow to get results with. I’ll run parts in the ceramic media (with water and a bit of detergent) for a few hours, then put the parts in the corn cob based media and let that run overnight to shine up the pieces.
Everything works, but the parts don’t get deburred as fast as I’d like (though I’m pretty happy with the corn cob cycle). Even after clamping even more weight to the motor shaft, I’m not getting as much amplitude as I’d like – I’ve seen real industrial units, and they really get the media moving. Additionally, the ceramic media doesn’t ‘flow’ as well as in the little UV-18, and I get these ‘subduction zones’ in the media, where parts tend to pool. Using a bungee cord to pull the whole unit to the side and thus disrupt the circular symmetry seems to help a bit, but it’s far from perfect. I’m pretty sure I have enough motor power, and I’m wondering if I simply need to slow the speed down some, and/or have an even larger counterweight. I may need to rig up some sort of pulley system to allow for a larger counterweight and a way to adjust the speed of the weight rotation. I’m wondering if the ‘dead weight’ of the motor may be hurting things as well, especially since the motor is as the end of the ‘swing’ of the whole unit and effectively dampening vibration as a result (perhaps my brilliant idea of a suspended deburring system was not so brilliant after all). Eh, it still works, and saved me a heck of a lot of money, so I’ll consider it a success.
An excellent and detailed post! Very nice… i thinking i can scale it down and some some $$$.
I have to agree that the swinging is probably what’s killing your vibration. If you went to springs or rubber pads, you’d still be losing some, but it would be like adding a “shake” to the vibration instead of a “swing.” This may solve your “flow” issue as well.
How about framing up and pouring a concrete slab and bolting the whole thing onto that. If you can figure out how much weight you need to keep it still…
Also, how about a shot from underneath, showing the counterweight?