On the Diamond 2500 powered sailplane, there are small ‘pods’ on the underside of the wings in front of the servos for the flaps and ailerons. I’m guessing that these pods are intended to serve as some form of protection for the servo arm and linkage on landing, but the problem is that the pods […]
On the Diamond 2500 powered sailplane, there are small ‘pods’ on the underside of the wings in front of the servos for the flaps and ailerons. I’m guessing that these pods are intended to serve as some form of protection for the servo arm and linkage on landing, but the problem is that the pods will then be torn to smithereens (being foam, just like the rest of the wing). While my quest to protect these 4 measly foam bumps seems to be ever-increasing overkill, it’s turning out to be a fun project and I’m learning a number of new skills from it.
While there were several ways to approach this, I decided to try making conformal covers for these pods out of fiberglass. I could have just applied fiberglass directly over the pods, but I wanted to try something a little more precise (and replaceable, though I don’t know why I’m clinging to that notion when the plane is likely to be damaged in far more horrific ways). I’ve been watching Tom Siler’s work on building his own fully molded F3K competition planes, and his videos are fascinating. He uses Corian for his molds, as it machines really nicely and is easily sanded and polished to provide an excellent finish on the composite parts pulled from the molds. I don’t yet have a vacuum system to bag parts, but I figured if I made a 2-piece mold, I could perfectly form pod covers without needing any sort of vacuum.
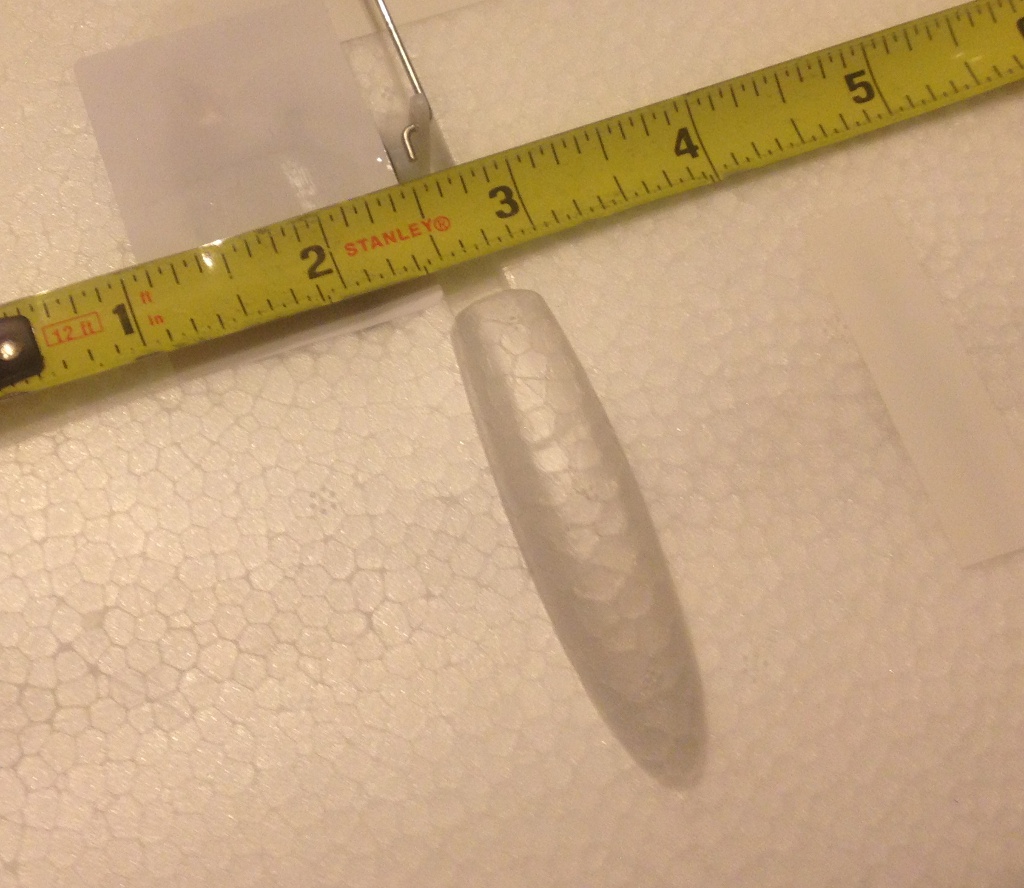
First things first – I needed to model the pod in SolidWorks. Normally I just grab my calipers, radius gauges and other measuring tools, but the pod had me stymied – it’s a more complex feature than I initially thought and isn’t as simple as a truncated swept profile. What’s worse is that it’s located on an airfoil, so I don’t even have a flat plane to reference. I started to consider making a rubber mold of the pod, then casting an epoxy plug from the mold, then digitizing the plug with the touchprobe I have for the Taig (but have yet to finish wiring up), but that was turning into quite a production. I remembered that one of Frankie’s toys is a NextEngine scanner, which would be perfect for this application, so I took the wing along during one of our Zcorp hacking sessions.
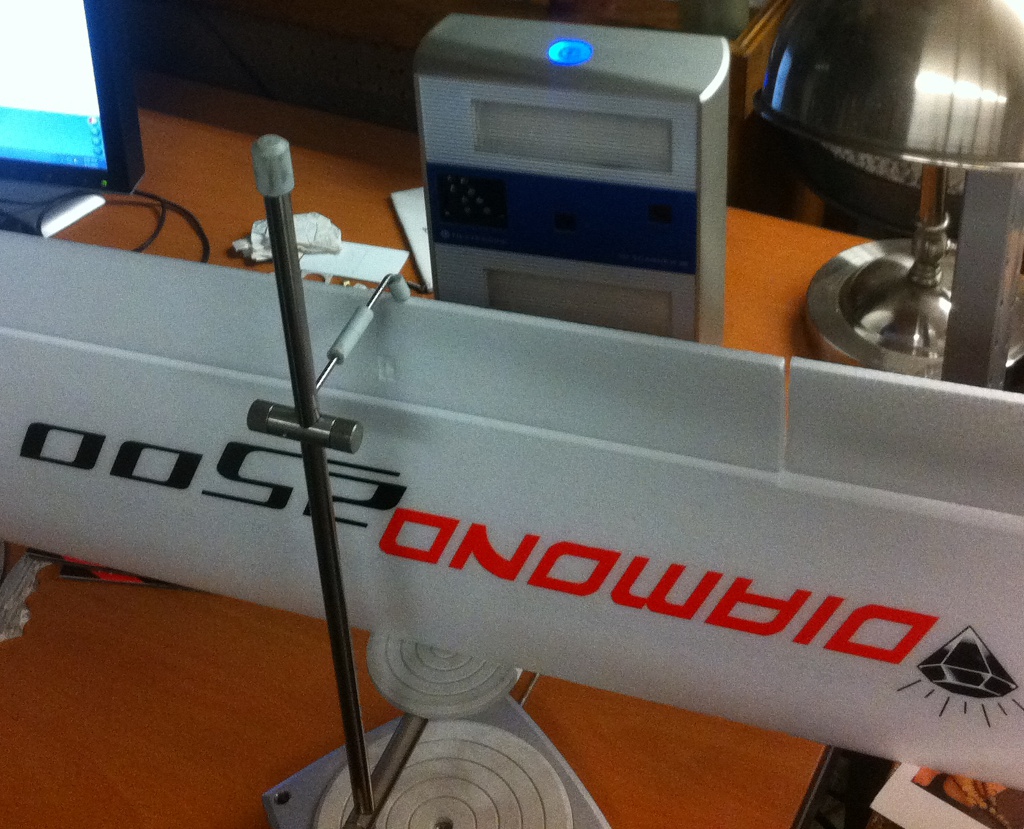
First step was to position the wing in front of the scanner itself. The base will automatically rotate in increments if needed, but I just needed a 1-pass scan.
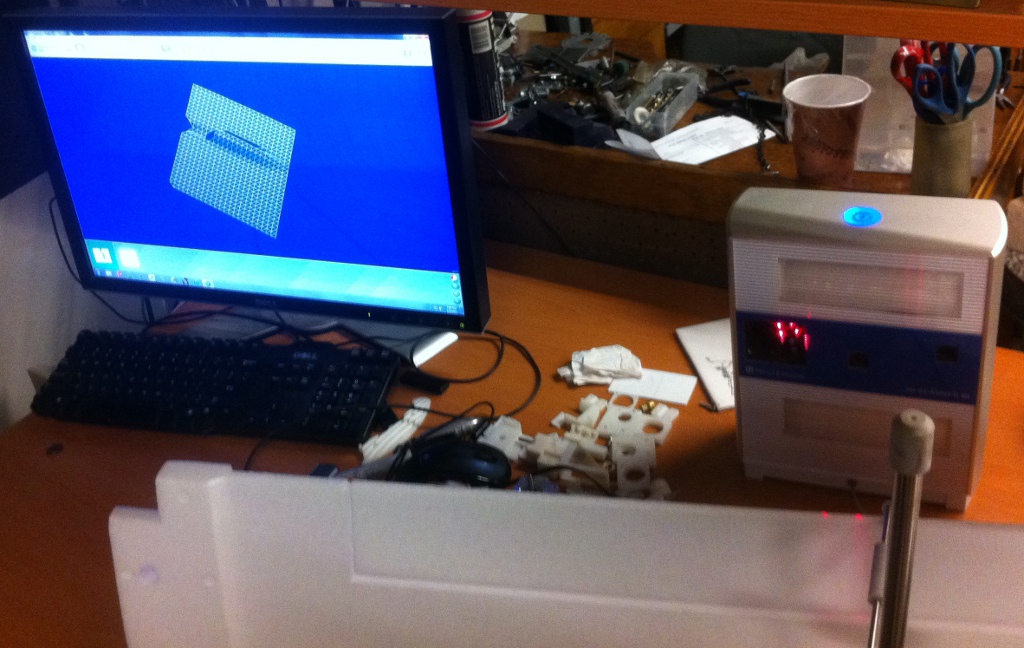
Once in place, let the scanner rip – a few of the laser beams are visible sweeping over the scan area, and the monitor screen shows a rough pass of the scanned pod.
I brought the generated STL into MeshLab and did some minor cleanup before bringing it into SolidWorks. SolidWorks actually has some impressive mesh-to-surface capabilities, but since I was working with a mesh with a few holes in it, it would have taken a bit of work to get usable output (and I didn’t see a way to define a symmetry plane, but maybe I didn’t look hard enough).
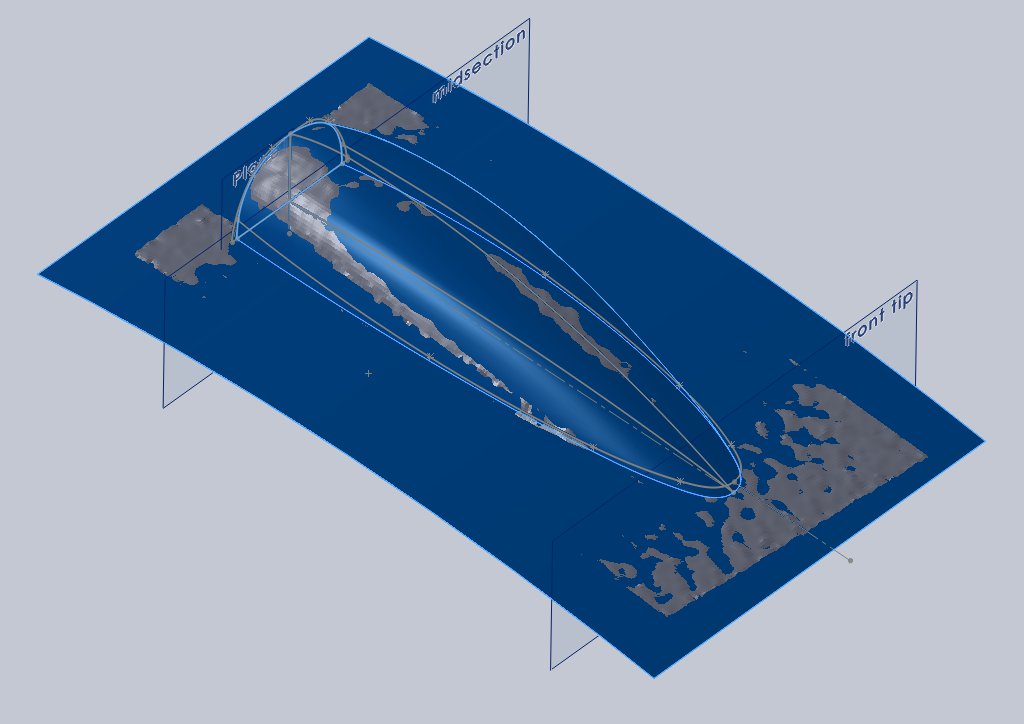
Instead, I did my own surfacing, which took me quite a while. I’m not good at it, and I know some of my techniques are wrong, but the final output should serve its intended function.
After finishing the male side of the mold, I thickened the surface by 0.010″ (I figure that should be plenty of fiberglass) to create a solid and extracted the far surface as the female side of the mold. I set the two halves side-by-side in an assembly and exported it to GibbsCAM.
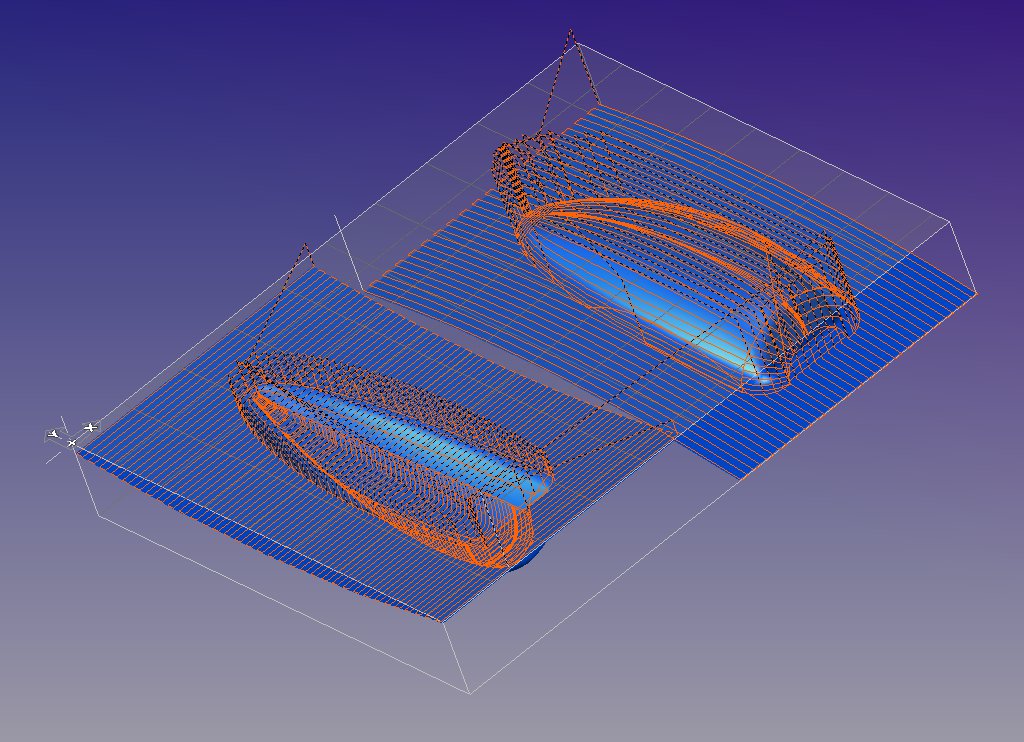
Once in Gibbs, I created my toolpaths (this shows the paths for the second operation, which uses a 0.250″ ball end mill). After posting the file, I was finally ready to start cutting material.
Not having yet found any 1″ thick scrap Corian (everything I’ve gotten is 1/2″), I glued two pieces together. The cold temperatures meant that the epoxy hadn’t fully cured after 24 hours, so I stuck it in front of a space heater for a day, and that firmed everything right up.
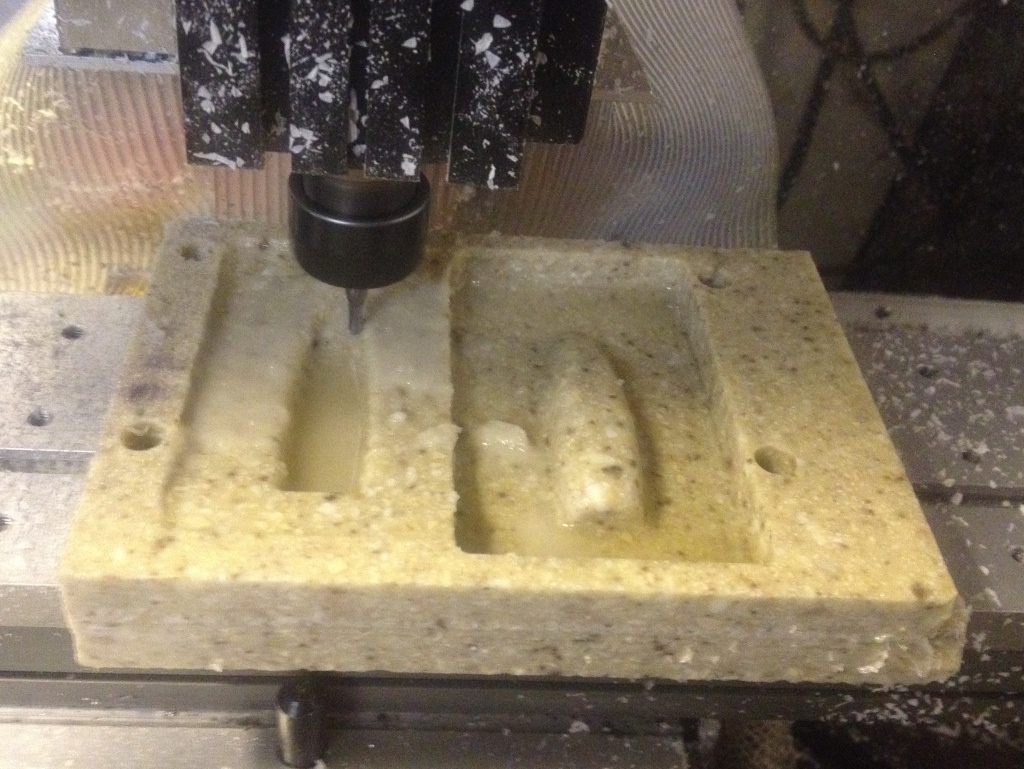
I drilled and counterbored mounting holes and then bolted the block to the tooling plate on the Taig. This shows the results of the first pass, which was roughed with a 0.250″ flat end mill. Note the curvature in the parting plane to match the airfoil surface.
This is the third and final pass, which used a 0.125″ ball end mill (and a generous amount of WD-40 as cutting fluid).
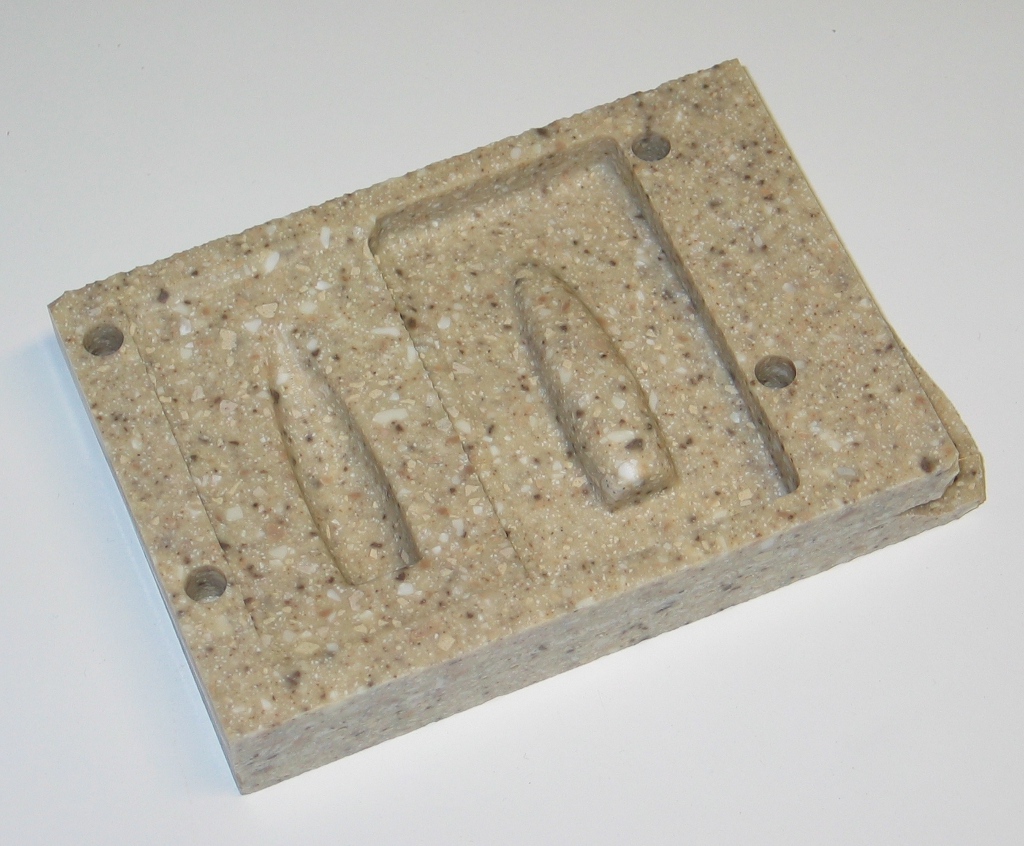
Once washed off, this is the result. The pattern of the Corian makes it impossible to see any fine detail in the photo, but the surface finish is phenomenal – I used a 0.010″ stepover for the final pass (overkill, but it’s my CNC, so I’m not paying any extra for machine time) and it looks superb when you hold the machined surfaces up to the light. All that remains now is to chop the two halves apart, then sand and polish the mold surfaces.




This looks pretty sweet! One question… how did you know that the epoxy hadn’t set yet?
The wet epoxy on my fingertips after grabbing the block was pretty much a dead giveaway. The stuff I’m using (http://www.acpsales.com/EZ-Lam-Epoxy.html) is a slow cure (working time of 60 minutes), and the description says “It should not be used when the ambient temperature is below 65 degrees F, unless the part can be heated to 75 degrees F to activate the cure cycle.” I had clamped it up in the garage (where the furnace had everything nice and toasty warm), and I had hoped that when I turned off the furnace and locked everything up that things would stay warm enough for it to cure. Turned out not to be the case – while the epoxy wasn’t downright runny anymore, it was was still ‘goopy’, so I brought it into the house. Since I’m a cheap bastard and keep the house below 60, it still didn’t fully cure overnight (was still slightly tacky), so I stuck it in front of a little cube heater for a full 24 hours, and that did the trick.
I had also ‘wet sanded’ with the epoxy to ensure a really good bond (spread epoxy on the two mating surfaces, and then rub 80 grit sandpaper over the wet epoxy to really dig it into the surface for good mechanical adhesion). All of this wound up making an excellent bond between the two pieces – when I sawed the ends off the other day, I threw the scraps down on a concrete floor as hard as I could to see if the two layers would break apart. Although the Corian itself would break, the epoxy joint held fast and didn’t split.
Anyway, if you ever need a whole bunch of epoxy, there’s a local Ace Hardware on 43rd St. (http://www.afillinger.com/) that has West System stuff – I stopped there last night, and they didn’t have the graphite or aluminum powder fillers I was looking for, but they had pretty much everything else – pumps, microballoons, colloidal silica…