When I last wrote, I was dealing with a Stratasys FDM 2000 head solenoid that just wasn’t working. Well, I managed to get a replacement (thanks, John!) and sent the original off to a company in the Chicago area that rebuilds old automotive starter solenoids of that same ‘crimped can’ construction. I think one of […]
When I last wrote, I was dealing with a Stratasys FDM 2000 head solenoid that just wasn’t working. Well, I managed to get a replacement (thanks, John!) and sent the original off to a company in the Chicago area that rebuilds old automotive starter solenoids of that same ‘crimped can’ construction. I think one of the leads simply became detached from the coil winding, which should in theory be a simple repair. But having zero experience in that realm, I’m happy to let an expert take a crack at it first.

The solenoid from John works like a champ, so it was on to the next problem – a persistent clog in the support extruder. I found that I could extrude support material happily enough if I removed the support nozzle, and I did see a few specks of crud get flushed out from the support side as I ran foot after foot of filament through it. I also cleared out the nozzle itself with a 0.011″ drill bit in a pin vise, just as I’ve done on my 1600. Still, this didn’t seem to help much. I could extrude a little bit of material out of the nozzle, but after perhaps 10 seconds or so, the material would stop coming out of the nozzle and would backflow out of the inlet buffer. I figured that there must be some sort of blockage still in the extruder, so I purchased some soft brass wire and the teeniest wire brushes I’ve ever seen from McMaster-Carr. I removed the nozzle from the support extruder as well as the support motor drive block, heated the support side to the normal operating temperature in the printer, then quickly removed the head and ran about a foot of the brass wire through the extruder to drag out as much of the soft support material as possible. I also removed the inlet buffer, but forgot that they actually have a tip that presses into the metal tube that serves as the ‘hot end’, thus rediscovering the issue that Rob @ Incredilution had found when attempting repair on his head. Namely, I broke off the tip in the heater tube. Naturally, I shrugged and put the inlet buffer back in place after cleaning, figuring that the break wasn’t a big deal. I was mistaken – when I heated the head back up and tried feeding support material in once more, the material backflowed out of a heretofore undetected hairline crack on the back face of the buffer itself.

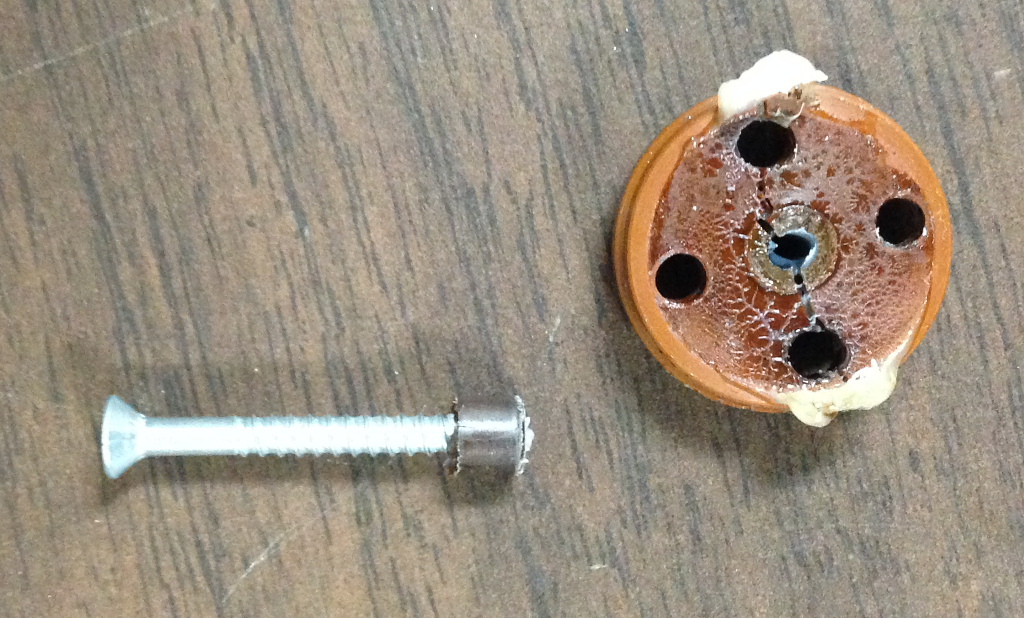
I removed the inlet buffer once more and used a screw to extract the broken tip from the heater tube.

Fortunately, John had machined some replacement inlet buffers some time back from some scrap Torlon that I had sent him, and I’m glad I had one on hand.

Unfortunately, even after thoroughly scrubbing the support extruder, things were now worse than ever, and I now get material backflowing out of the inlet buffer without even a nozzle attached. I’m somewhat at a loss to explain why this might be, but the best I can figure is that running the brass wire and mini wire brushes through the extruder might have scratched the interior surface, causing sufficient friction to keep the soft plastic from extruding out the end. With that possibility in mind, I figured I needed to fully tear down the head for a deeper look.

Here’s a look at the bottom side of the head with the bottom shroud removed showing the vanes that direct cooling air over the nozzle tips.

With the exterior shell full removed, we have a good look at the internals.

Here’s the bottom side of the head.

The thermocouple runs right into the end of the melt chamber.

Removing the aluminum foil outerwrap reveals the fiberglass insulation wrap.

With the fiberglass out of the way, we can see the heater coil wound around the melt chamber.

I first had to use a small punch to drive out the roll pin securing the solenoid paddle to the extruder.

Then I could finally snake the extruder free of the heater coil. I had tried to slip the coil over the end, in the hopes of easily replacing it, but replacing any of this is going to be tough work.

And here it is – the ‘hot end’ freed from its overwrappings. Now I just need to remove the inlet buffer and give the tube a solid cleaning to try and figure out what is causing the clog.
I’m a bit slow in keeping up with your posts, but this is exactly what I’m up against with my ‘ole 2000, except I’ve also got stripped threads for the support tip too. What could you add about renewing the threads in the tube?
I haven’t started this project just because the chance of success seems VERY-very small….
Thanks
I’m not sure how much repair to the threads might be feasible – I’d be inclined to attempt boring out the threads, then cutting internal threads on a ‘plug’ to be pressed in and carefully tacked in place with a TIG torch.
I do have the extruder tube almost totally drawn up in SolidWorks now – from the faint machining marks, it appears the the extruder tube was first turned on a lathe, then bent at 90 degrees. My current thinking for repair is once I remove all traces of plastic, I’ll try using a nylon or natural fiber string/cord run through the tube with a bit of polishing compound to attempt smoothing/removing any internal burrs or obstruction. What a horribly convoluted way to design an extruder…
If resurrecting the existing extruder doesn’t work, plan B will be to machine a split block that holds an L-shaped piece of stainless tubing – nozzle threads may still be a trick, though.
could you email me an IGES export please?
Sure thing – I’ll probably post models once I have them done.
Also, noticed in the fifth (I think) pic down, of the bottom of the head, there is fins attached & also a beveled boss around the tips. I don’t have all that stuff on mine.
Any idea what all that was for?
Not sure – I’ve never seen the fins/strakes on any others, and Frankie’s 2000 certainly doesn’t have them. I can only assume that it was done to provide quicker cooling to the just-deposited material in an attempt to push speeds higher.
Is there a fan to the back that could be pushing air that the fins channel/guide to the work?
Yes – it uses the standard head cooling air directed through an opening in the bottom of the shell.
Just thinking, maybe I got the filament hole in the inlet buffer too big — maybe it should be smaller?
Hmmm, it’s possible, but I think the hole size isn’t super critical.
Hello, I’m not sure where I should post this question or how to contact you the best way but anyways: I have a FDM 1500 that powers up and I think it works however I am in need of software so I can make the files and send them to the printer. Do you know where I can get Quickslice? Maybe there is a better option? Thanks very much.
I know I am commenting on an old post but I hope you can help! I have a Stratasys dimension SST printer. One of the minimotors in the head have gone out. Stratasys does not sell replacements. Instead, I am told I need to spend $4,000 on another print head. I can find similar minimotors online, but they have different wire harnesses and do not have the gear on the end. Any ideas of a workaround?
Thanks in advance!
I don’t have any good ideas offhand since I have very limited experience with the P-class machines, but you may want to check with users on the 3DP Stratasys forum: https://www.3dprintforums.com/forumdisplay.php/55-Stratasys