A few weekends ago was Frankie’s aluminum anodizing class at UWM. I had done a little anodizing during the open session last summer, but that was limited to single colors and I wanted to play with multicolor effects this time around. I’ve purchased a video on DIY anodizing as well as the MoonLite and Caswell […]
A few weekends ago was Frankie’s aluminum anodizing class at UWM. I had done a little anodizing during the open session last summer, but that was limited to single colors and I wanted to play with multicolor effects this time around. I’ve purchased a video on DIY anodizing as well as the MoonLite and Caswell anodizing manuals, and have done a lot of web research on the process. While these resources cover the basics of anodizing, they say almost nothing about how to create multicolor effects (the MoonLite manual does discuss a few techniques, however). The more complex techniques appear to be closely guarded secrets, and companies like PK Selective (who actually invented splash anodizing – a pair of good examples are here) are not keen on discussing how finishes such as their legendary ‘thunderstruck‘ anno is created. Piers Wiggett was a true master, and once he left PK, I seem to recall that their prices jumped noticeably – like magicians, anodizing artists are generally not known for revealing their secrets!
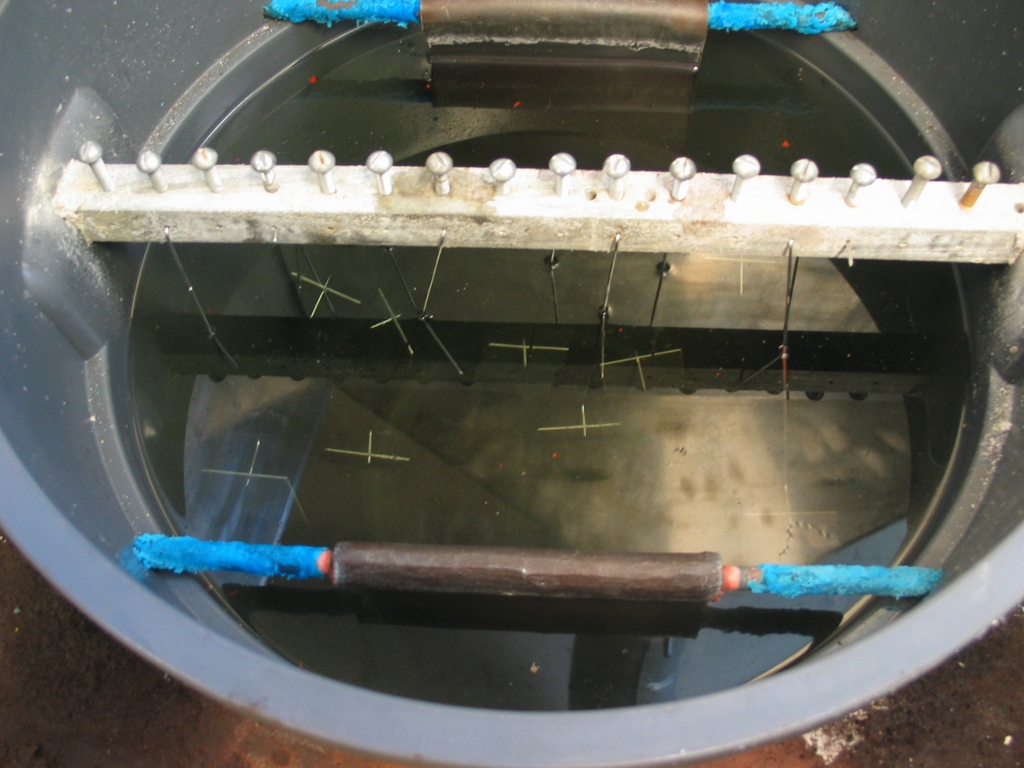
Still, there’s plenty than can be experimented with, and lots of tidbits exist on Caswell’s anodizing forum. By masking with vinyl tape, you can apply different colors to different areas. More complex and organic looking masking can be done by applying a fast-drying liquid by brush or sponge. Parts can be dipped into bleach or a sulfuric acid solution (which is what we used) to bleach the dyed color back out, and by slowly dipping into the dye bath or bleaching bath, you can achieve a color gradient.

Anodizing actually ‘grows’ a very thin (perhaps a thousandth of an inch) layer of oxide out of the base aluminum (unlike plating, in which a dissolved metal is deposited out of solution onto the substrate). This oxide layer is porous and can absorb certain dyes, hence the basis for the class. The process of dyeing/masking/bleaching is not unlike reverse glass painting – what you put down first will be ‘on top’, so for complicated patterns, you have to think through the procedure in reverse and plan out your steps in advance.


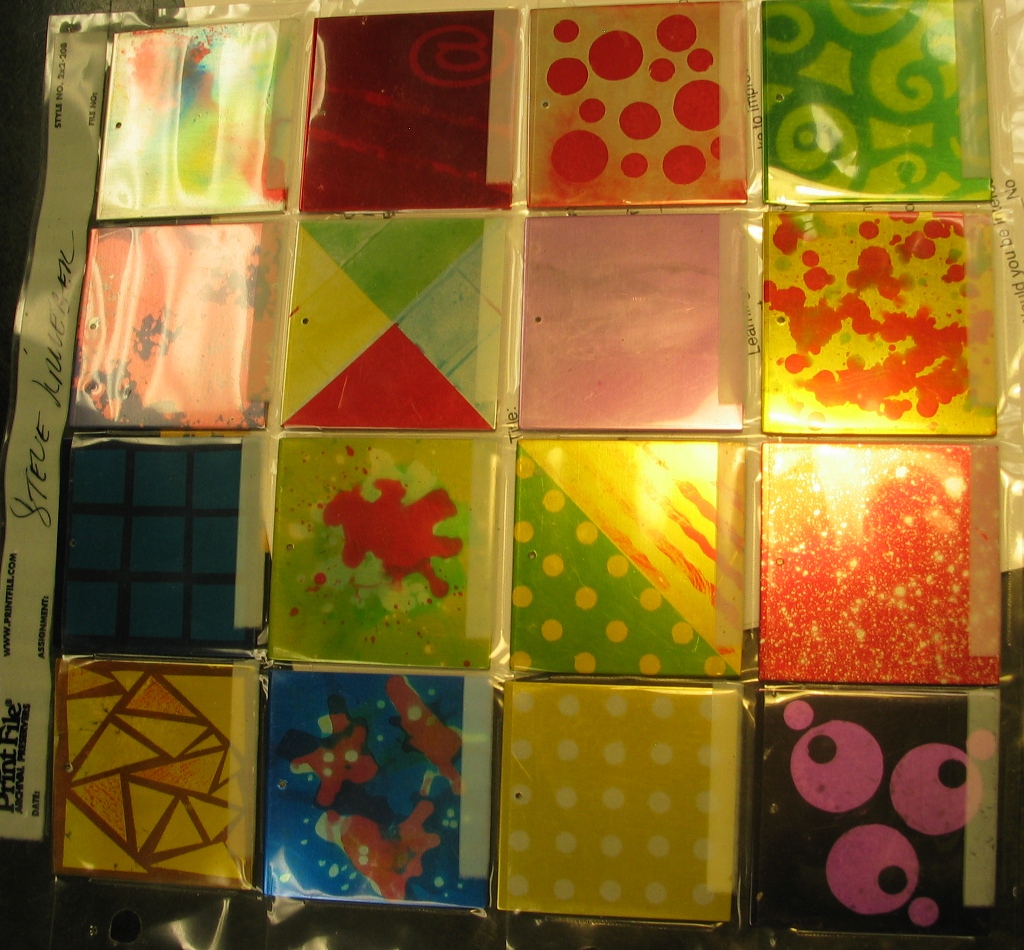
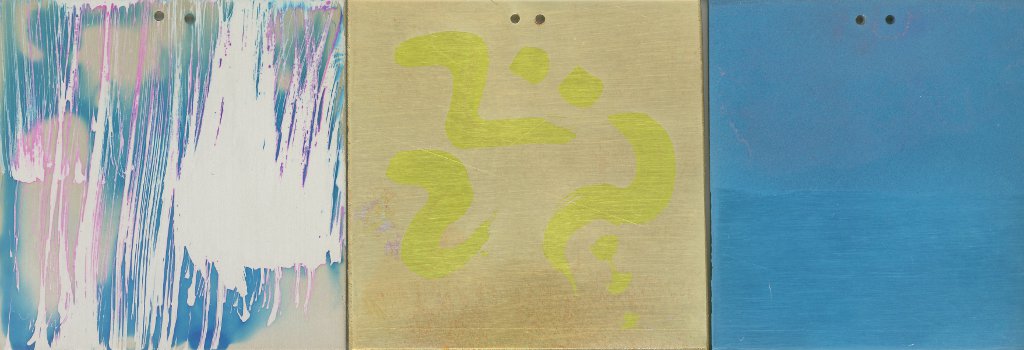
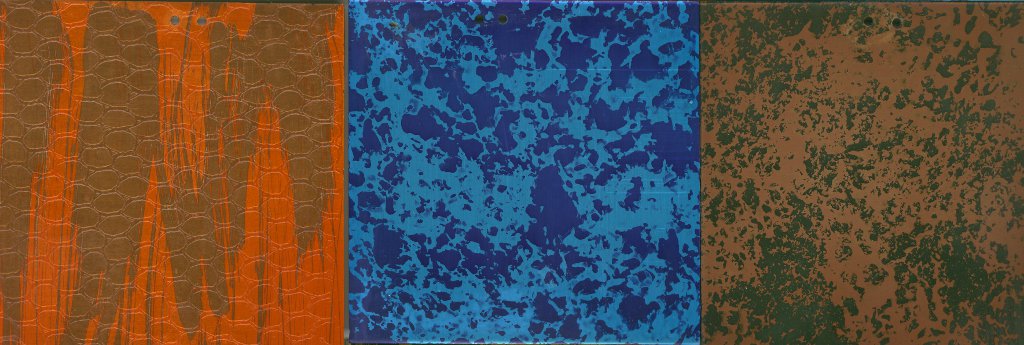
Here’s some of the samples I made during class – photographs just can’t fully capture the look of an anodized piece, unfortunately:
1) Dyed the piece in fluorescent yellow, then brushed on rubber cement, and did a slow dip in the pickle (the weak sulfuric acid bath we used for bleaching) for a color gradient. I’m not sure why the base color darkened towards the top.
2) Dyed yellow 4A, then lightly sponged on Krylon clear matte spray finish, pickled and then dyed electric blue. I wish it was possible to get a resulting blue as vibrant as the pieces look right when you pull them out of the dye – the color is so deep and saturated that it really defies description.
3) This was actually my first attempt at a gold/blue scheme. I did a sponge mask on the undyed aluminum, then I taped a scrubbing pad to the piece. I then dripped yellow 4A and blue 4A (thickened with corn starch) through the pad, hoping for a fairly sharp color delineation, but the corn starch didn’t make for a very solid paste, so the colors faded together. Still an interesting effect, though.
4) Brushed on rubber cement over the undyed metal, and then dripped on electric blue and fluorescent pink (again mixed with corn starch). I tried a few pieces with fluorescent pink, but just could never get it to take well – it always leached out when I rinsed it after the dye bath.
5) Dyed fluorescent yellow, brushed on rubber cement, then dyed deep red. I didn’t do an intermediate pickle step, assuming that the red would still overwhelm the yellow, but this didn’t really happen.
6) I sandblasted the top half and dyed the piece turquoise. I’m not really a big fan of blasted finishes on anodizing, as they’re very rarely done well and generally come out far too coarse (in the paintball gun world, at any rate). From what I recall hearing, the secret to getting a really nice ‘frosted’ type finish is to fully polish the base metal and then very lightly blast it with glass beads, not sand.
7) I ran the metal through a rolling mill with a piece of plastic mesh bag wrapped around it, which provides a neat reptilian skin look. Dyed bronze, brushed on rubber cement, pickled and then dyed copper.
8) Dyed turquoise, sponged on Krylon matte clear spray, pickled and then dyed electric blue.
9) Dyed bronze, sponged on Krylon matte clear spray, pickled and then dyed olive drab. The olive drab dyes very quickly, probably the fastest of any of the colors I used.
10) I used another plastic mesh to provide a surface finish with the rolling mill. Dyed violet DS, and then I used a cotton swab dipped in pickle to draw on the surface.
11) This one went through the rolling mill with a torn piece of paper – it really didn’t apply a noticeable effect unless you hold the piece up to the light. Dyed in olive drab, brushed on rubber cement, pickled, then dyed in yellow 4A.
12) This one was a pleasant surprise, as I really wasn’t sure of what I was trying to achieve. Dyed red bordeaux, brushed on rubber cement, pickled, brushed on another layer of rubber cement, pickled, and dyed yellow 4A. The colors came out nice and rich.


AWESOME post!
You can see some advanced pieces at http://www.anographics.com
Thanks, Peter! Your work has always been the gold standard of artistic anodizing, and the videos are great – please post more!
hai frankie..it was an awesome graphic u do on the aliminum surface..i just wanna ask you..is it possible to do double color in single anodizing by masking.?is it possible to get sharp color on the edge of any parts?
I’m not Frankie (he’s over at http://frankieflood.blogspot.com/), but yes, you can achieve multiple colors at a single time through masking, and masking will also allow you to get hard edges on the applied colors. Probably the best method for this is screen printing.
Hi ,
We’re urgently looking for blue color dye for our anodizing part.
But end product must match Pantone color chip 285C
Here is my address as below. Pls send sample asap.
Advance Micro Surface Finishing ,
17, Lorong IKS Simpang Ampat D,
Taman IKS Simpang Ampat,
14100 Simpang Ampat ,
Penang , Malaysia
Tel : 604 572 1137
Fax: 604 587 2737
If you have this let us know asap and the lead time.
regards….
N.Muraly Nehru
Unfortunately, I have no good leads on industrial dyes – all the ones I used came from Caswell (www.caswellplating.com).